Create your first product
Follow this guide to create your first product on Easycart, configure its settings, and publish it for your customers to purchase.
You can create your first product from scratch or import existing products from Stripe if you already have them.
Start the product import process from the Setup guide or during registration through this link.
Create your product
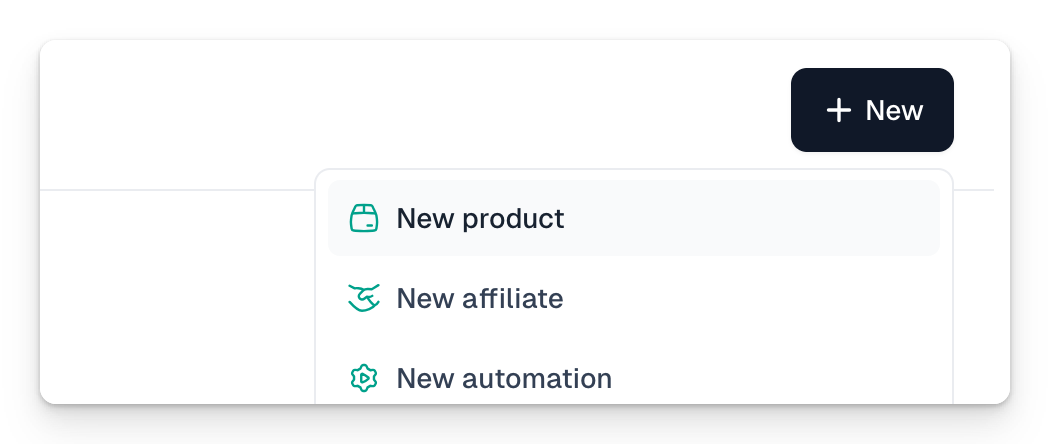
1. You can always add a new product using this link or by going to Store → Products and clicking +New product in the upper right corner. From any panel location, you can also select +New → New product.
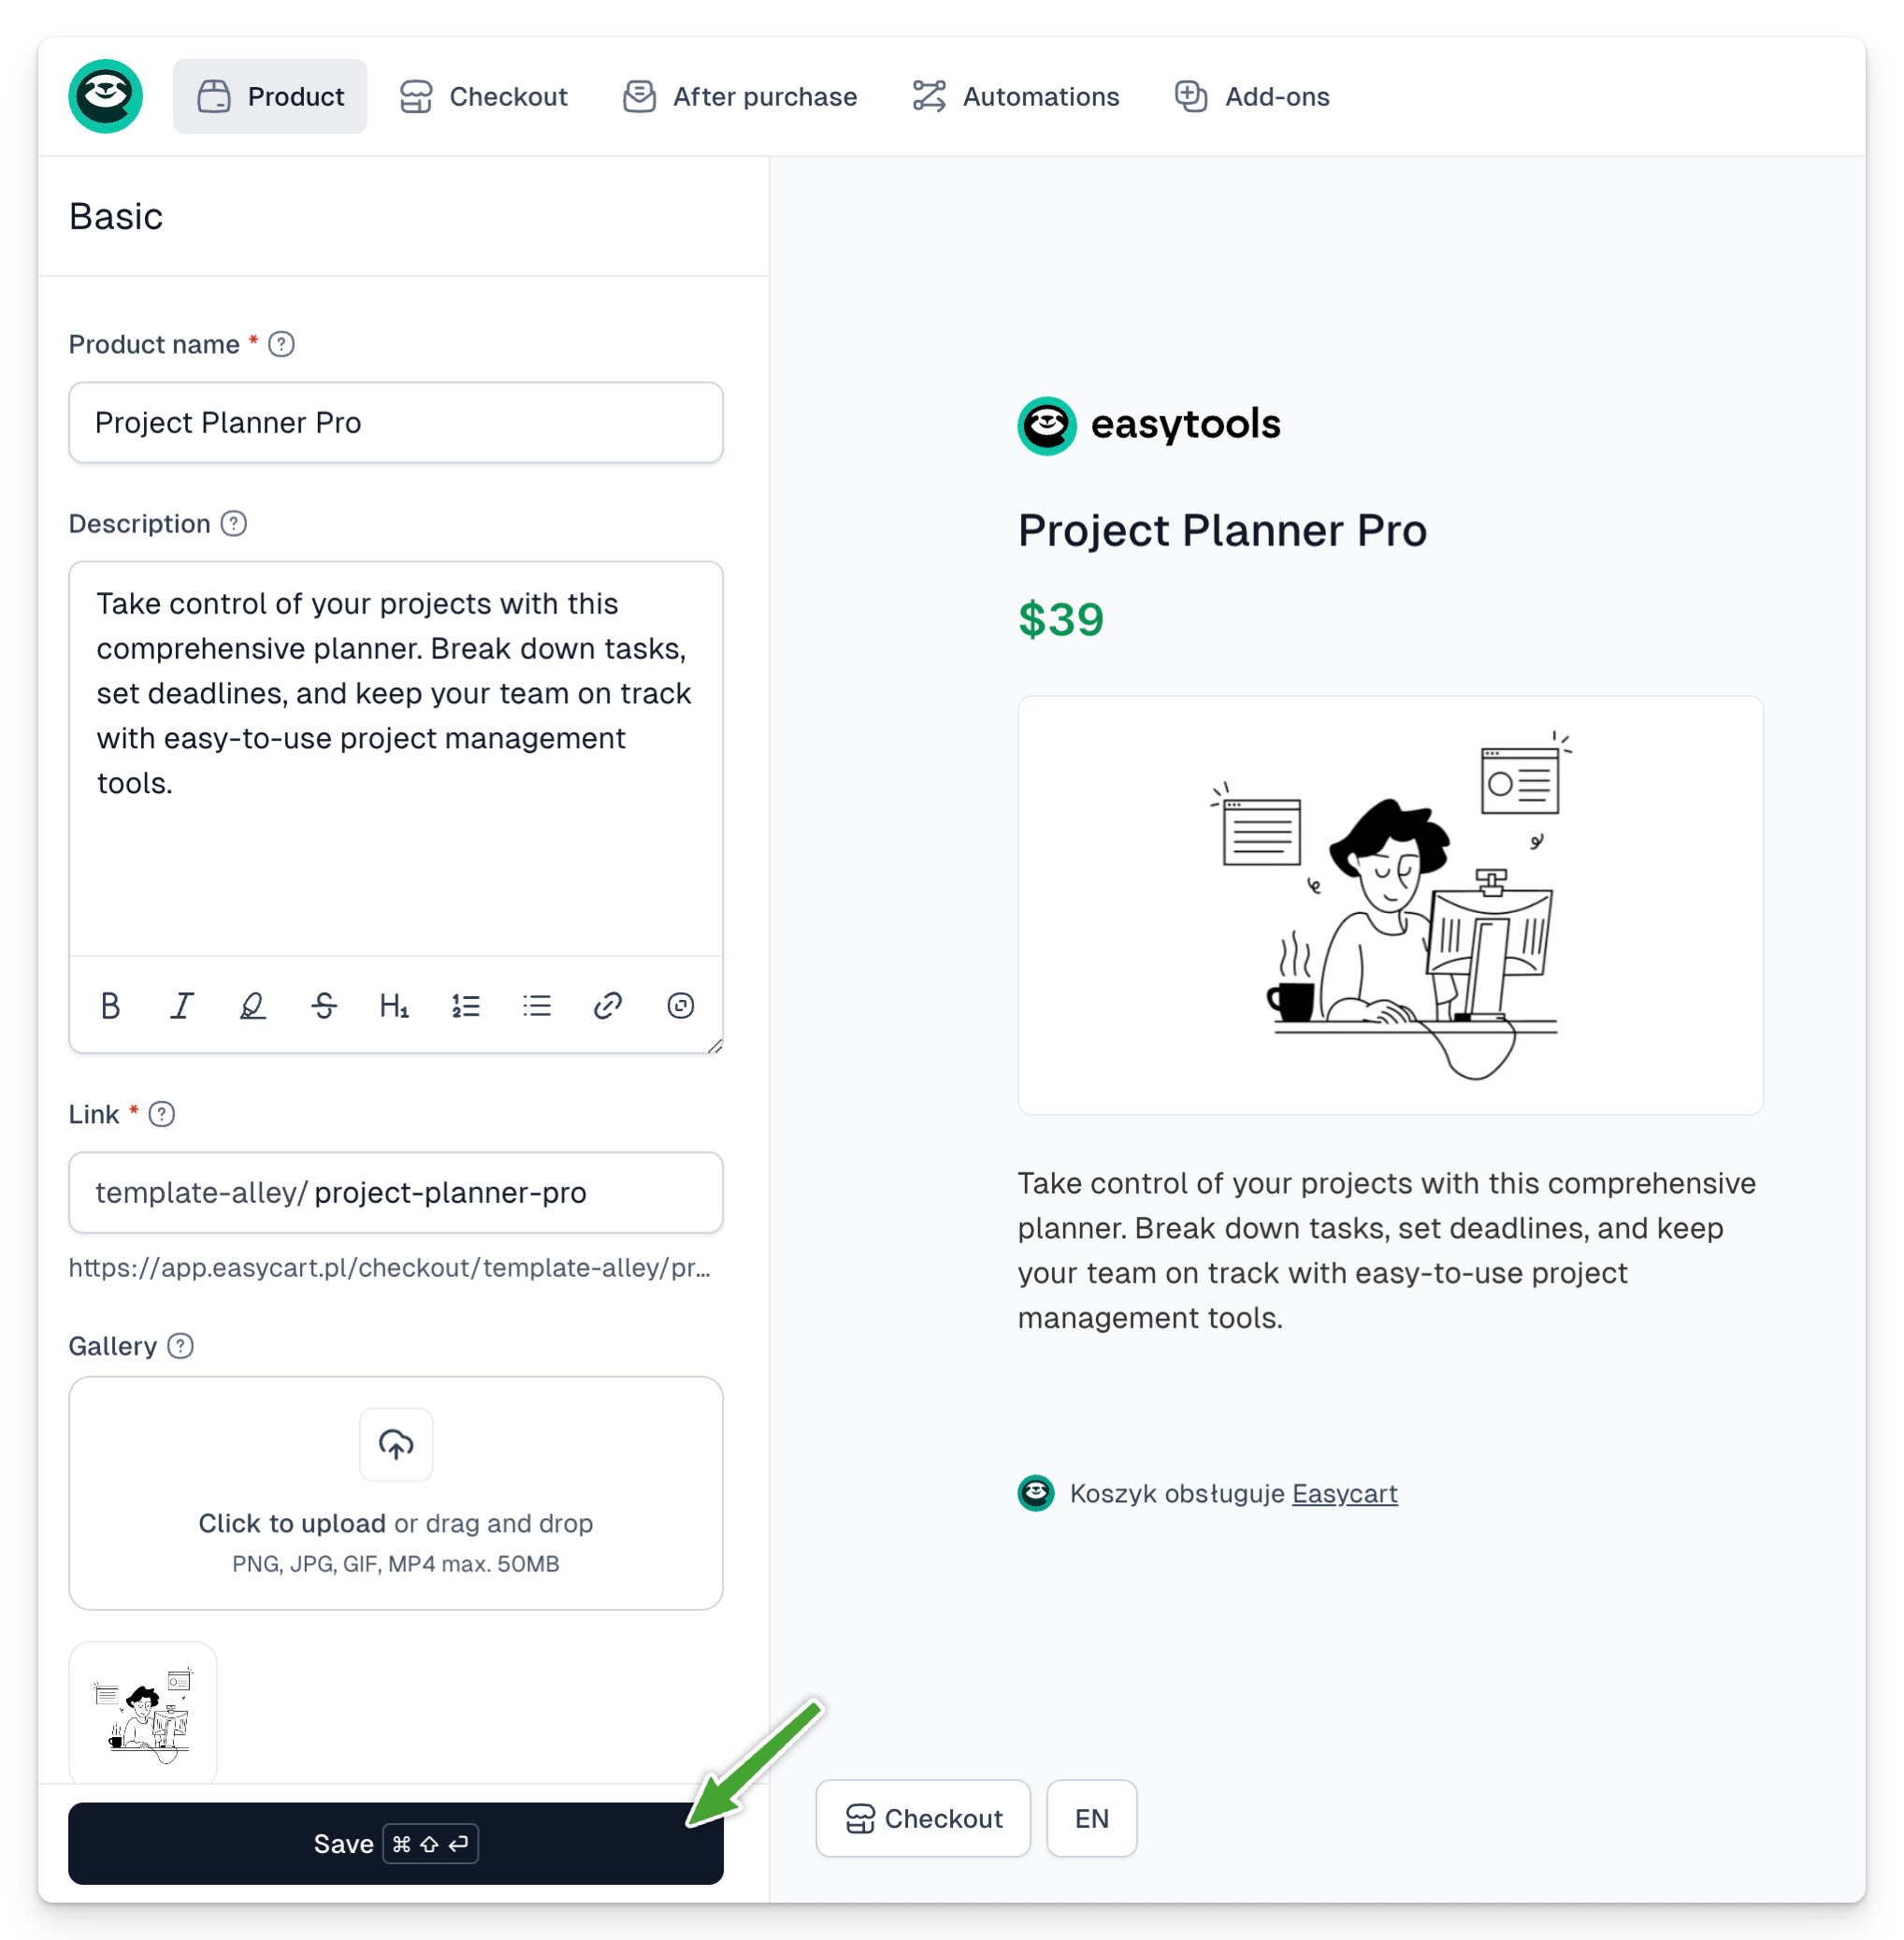
2. Fill in the basic product information in the creator. You don't need to fill in all the details. The essential data are:
- Product name
- Currency and main price along with its type
- Whether the price includes tax
3. However, I recommend setting at least a few additional fields:
- Description
- Product image
4. After completing these basic steps, your product can already be saved. Click Save in the lower left corner, and your product will automatically save as a draft.
5. If you want to change the logo, hover over it and click the blue pencil icon on the right side, which will take you to the appropriate field. You can also hide the logo using the appropriate option.

6. Go to the Checkout → Terms and Returns section and add links to the terms and privacy policy. You can also generate these documents using the Easylegal tool. Learn more here.
You can also set the logo (and terms) globally in the Store settings → Branding tab. This way, you'll add a logo that will appear by default in every newly created checkout.
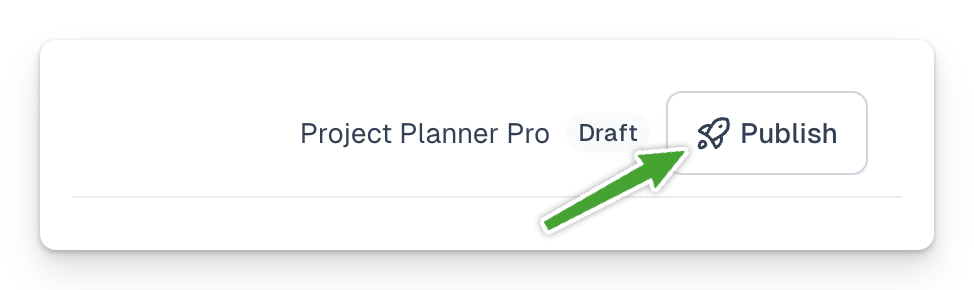
7. Click the Publish button in the upper right corner to publish the created checkout project.
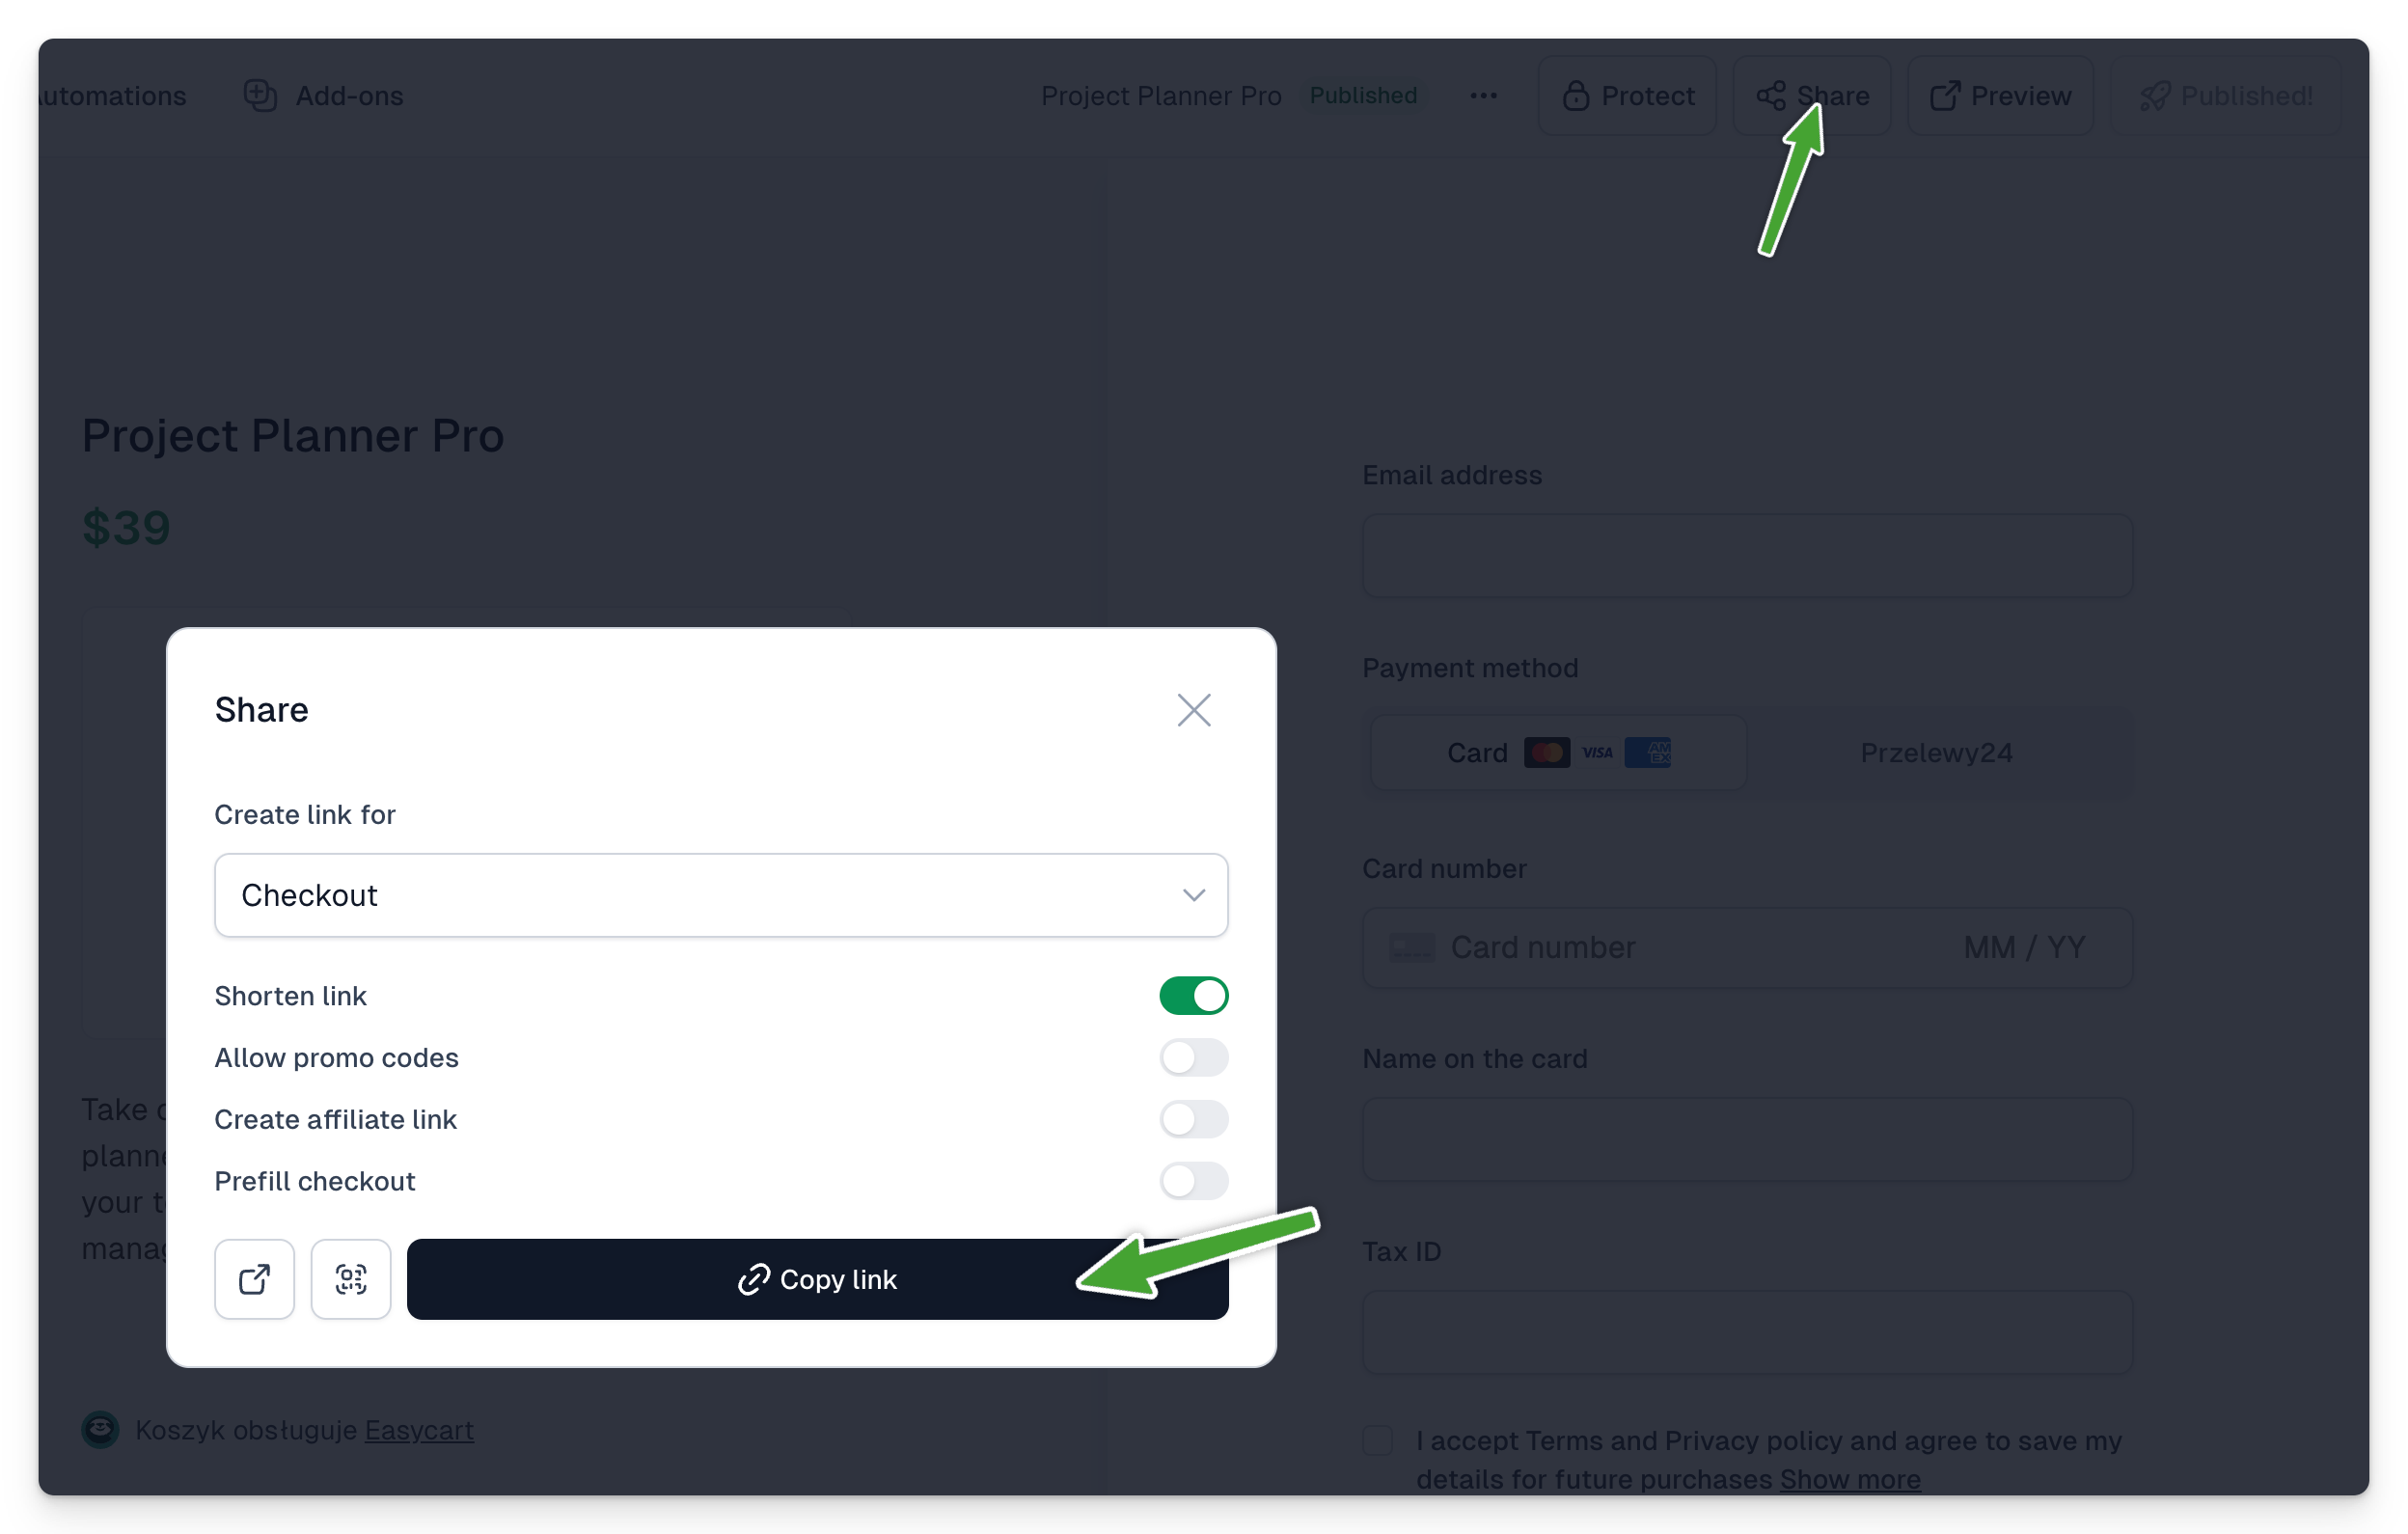
Congratulations 🎉 Your first project is ready. You can preview your checkout or share it with buyers. To do this, use the Share menu next to the Publish button. From this menu, you can now copy the checkout link. You can also quickly preview the checkout by selecting the Preview button.
What options are most worth setting?
Easycart has many options you can set for your products. First and foremost - experiment! Most options will be visible in the preview, so the configuration is very intuitive. You can't break anything! Even if you change an option by accident, you don't have to save changes when exiting a specific tab. So, go ahead!
Here are our most commonly set options:
More price variants
Think of variants as simply different versions of your product with different prices. For example, one variant might be an e-book, and another, an e-book with an hour of consultations.
Within each variant, you can also choose the appropriate price type. This means one variant might be available as a one-time payment, and another as a subscription. You can combine all this in one checkout! How to add a new price variant? It's very easy:
- Select Product → Price variants from the main menu
- Click +Add variant
- Click on the added variant to edit it
- Change the name from “Variant 2” to something more intuitive for the user
- Choose the appropriate price options and type
- Click Save and return to the previous price variant to add a name; it will look better in the checkout.

You don't have to fill in all the options! Only a few are mandatory. You can also override some general settings from this variant. For example, you can override the availability of the variant and limit it to a specific date.
Imagine you're selling conference tickets. "Early bird" tickets will be one variant with an overridden availability date. Another variant — "regular" tickets — will also have an overridden date, and their sale will start after the "early bird" pool expires. This way, only the appropriate ticket types will be visible in the checkout at a given moment.
You can also override form fields. For example, only one price might require an address — say, when it includes both a digital product and a hoodie you'll send by mail.
Post-purchase options — thank you page and email
It's also worth customizing post-purchase options, such as the thank you page and email.
Easycart will send transactional messages for you.
This means you don't have to worry about sending purchase confirmations, payment reminders, and more. We'll handle that for you. However, you can customize the content of these messages and decide which ones should be sent.
- Go to After purchase → Thank you page and customize the Page header and Page content.
- You can also copy the same or similar information to the post-purchase email. Go to After purchase → Customer notifications to customize the messages.

Customizing these messages will make purchases more personal. This is especially important if accessing your product requires any actions. In such a case, we recommend adding instructions here on how to get the product. Of course, you can also use our mechanisms by adding digital files, QR codes, or creating a video player to make access as easy as possible.
Access to products with Easytools
Remember, Easytools allows you to share, host, and even secure your digital files. The simplest scenario involves attaching a single file, such as a PDF or a .zip file with various files, to the product. You can do this in the Product → Basic settings tab. The attached file will be automatically shared with the buyer. Learn more here.
If you need to attach an entire course or more files, use Easyplayer — right after purchase, without unnecessary steps and logging in, we'll redirect customers to your content. Learn more here.
You can also secure your pages from access by people who haven't bought your product (or don't have an active subscription). Just add a small script to the page, and we'll handle user authentication and check if they can view your page content. Learn more about Login Wall here.
Analytics as easy as 1, 2, 3
Another popular feature creators use is enabling analytics in the checkout. In a few minutes, you'll start tracking on popular platforms like Google, TikTok, or LinkedIn. Just place the tracking codes in the Add-ons → Analytics tab in the checkout.
Like logos or terms, you can also enable tracking codes globally for all newly created checkouts in the Store settings tab.
If you want to learn more about how analytics work and how to configure and track them, check this guide.
Recover abandoned carts with one click
We also recommend enabling cart recovery. You can do this globally for all newly created checkouts in the Recovery tab. You can also override this individually for a specific checkout using the Add-ons → Cart recovery menu. Carts we recover have very low conversion chances, and our unique mechanism means we have saved customer data from previous purchases through Easycart.
This means we can take actions to recover the cart often even if someone just visited your page and didn't fill in any fields! We charge a 10% commission for transactions recovered this way.


