Setting up automations
Streamline operations with Setting up automations. Connect apps that you use and create scenarios to define information flow.
Thanks to Automations you can easily connect to your existing apps and flows. In short - first you enable integration with your favorite app, and then you create a scenario where you define what should happen and when.
Examples:
"After purchase, assign the customer to a mailing list"
"3 days after subscription expiration, remove the customer from the community"
And so on...
How to do it? You can add automation from a specific product level, or globally, which is more universal because you can assign the scenario to several products or variants at once!
Both methods differ only in where they're set up. So let's look at how to do it globally.
First, go to the Automations -> Applications tab in the Store. Click on the +New application option, give it a name and connect the application from the list. You'll need to paste the API key, instructions will appear after selecting the app.

After filling in the data, make sure the connection is active - click the "Check connection" button before saving changes. If the connection is correct, click the Save button and then go to the Scenarios tab.
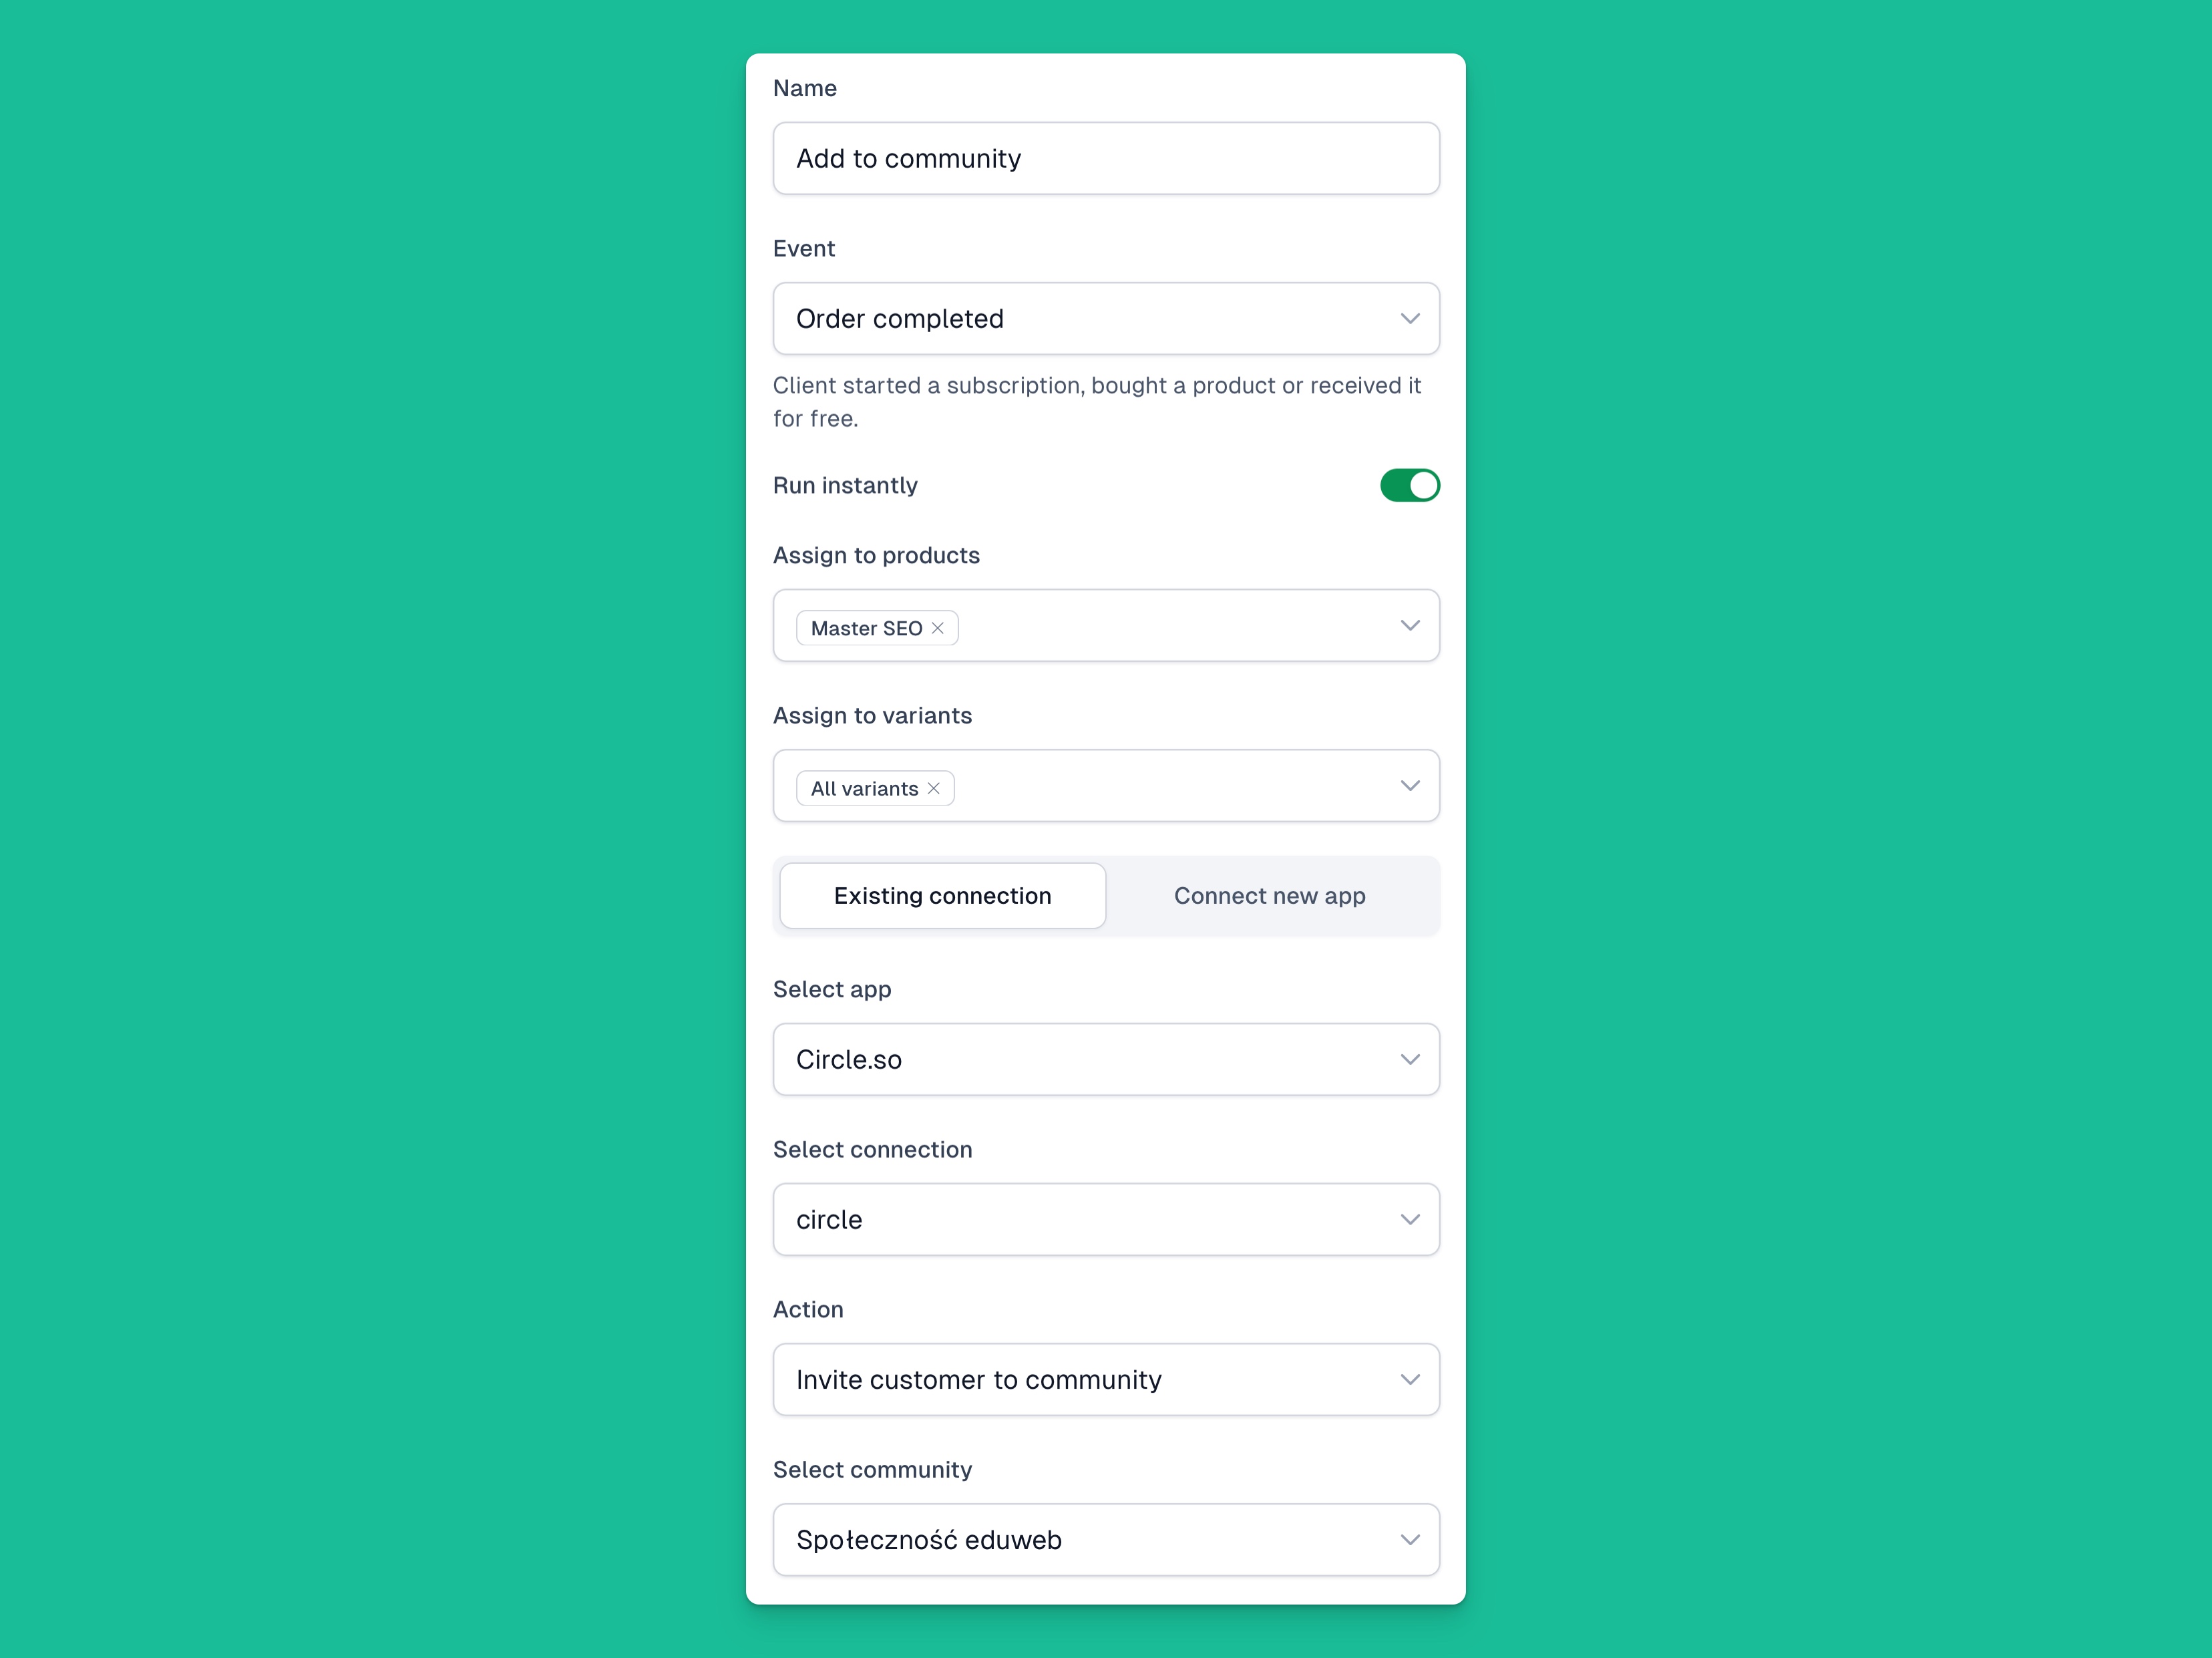
Next, create a scenario by selecting +New scenario and then choose the appropriate product, variants and options that will allow the automation to be carried out, e.g.

Click Save and... done 🎉
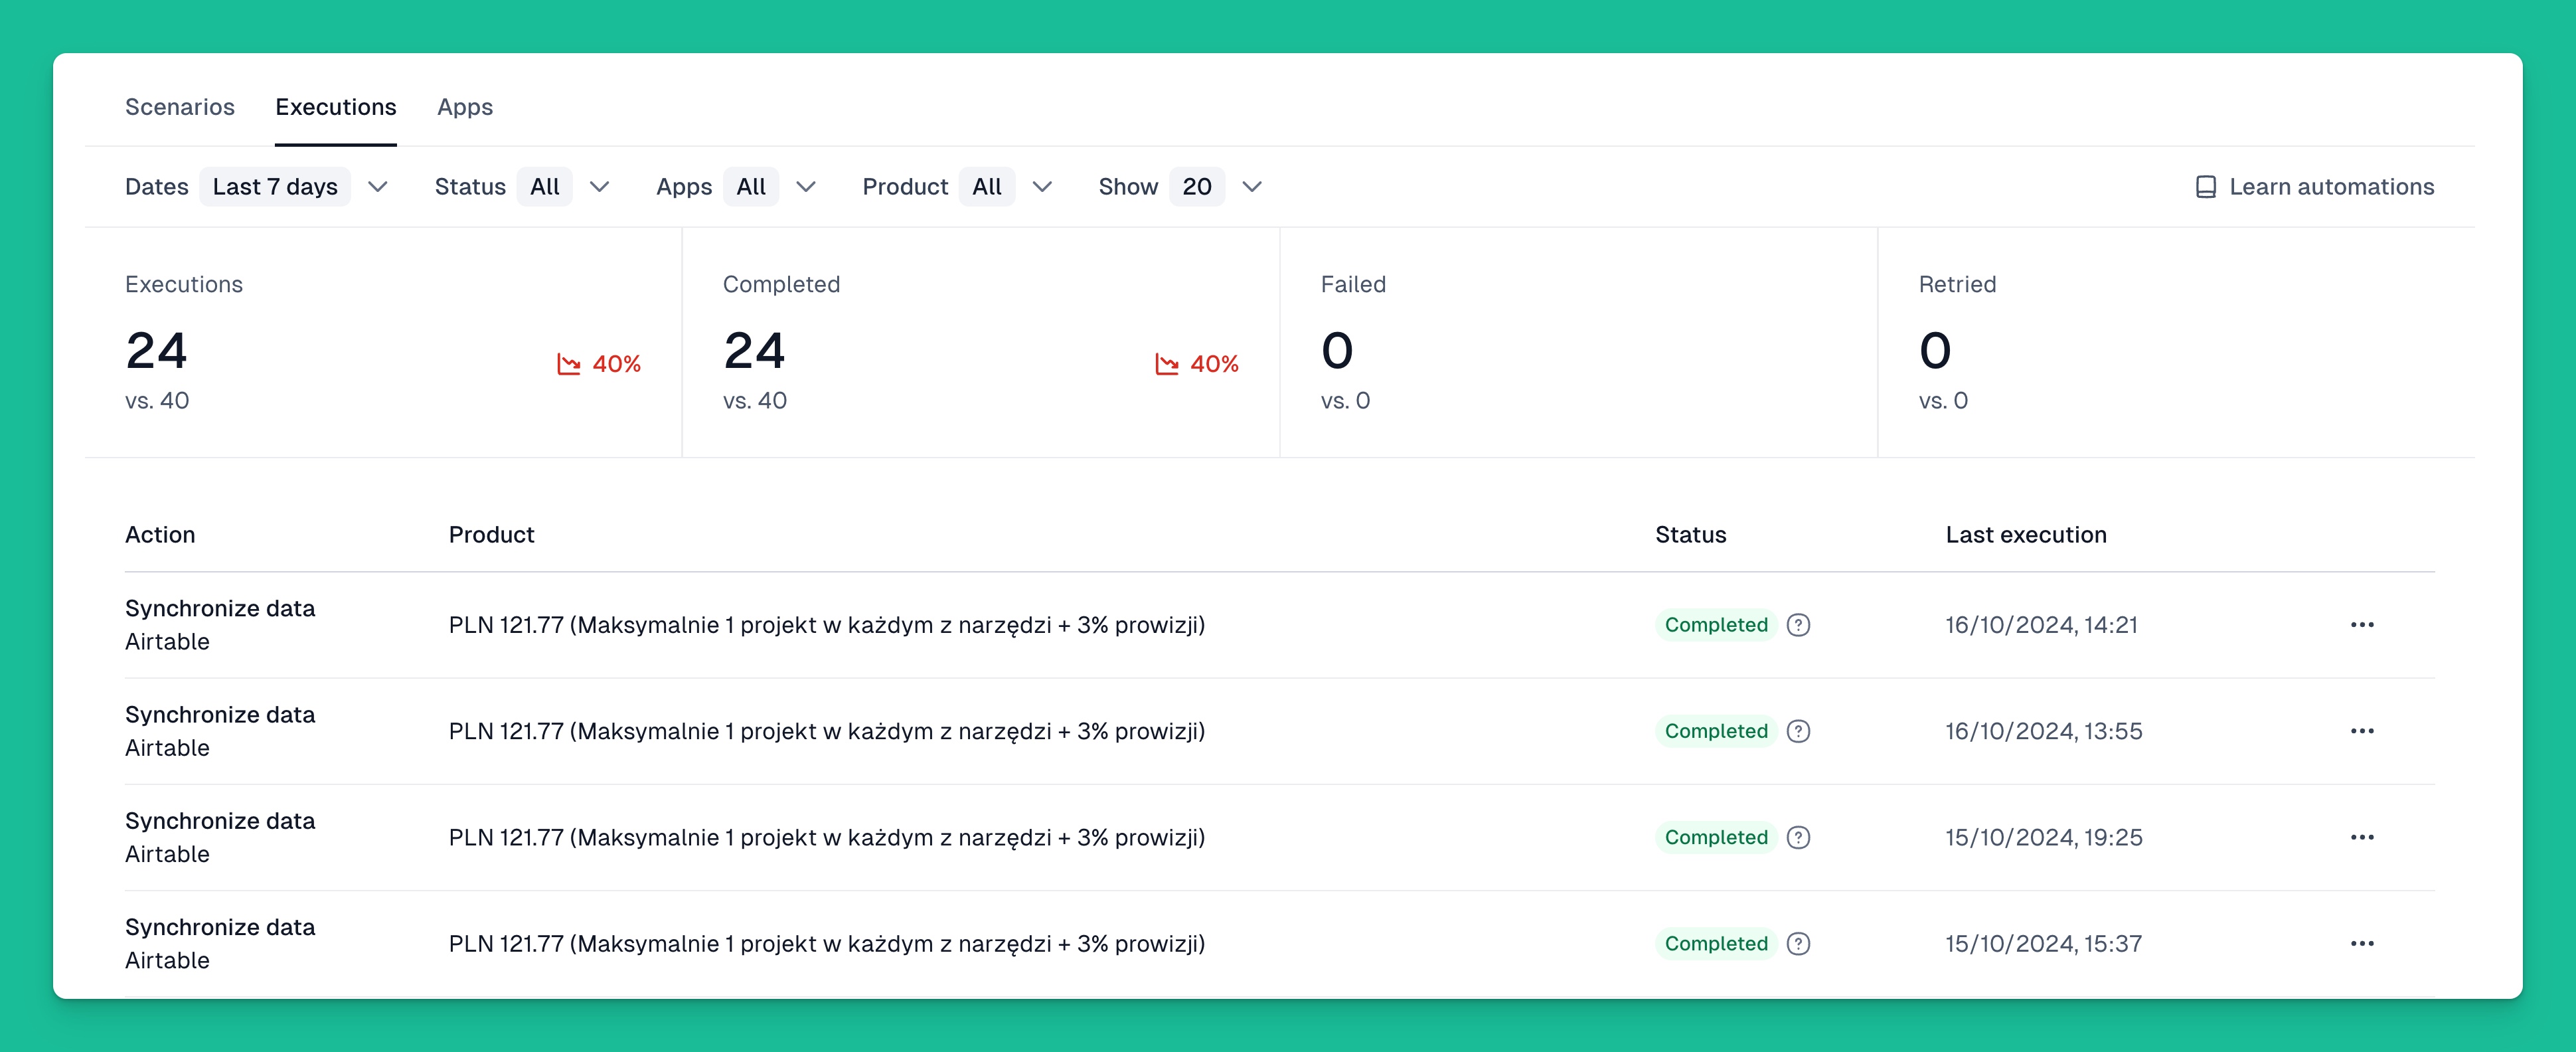
In the Executions tab, you'll find a log of individual executions of such a scenario, where you can see any errors and even retry or cancel the execution.

Receive email notifications after purchase
This way you can also send yourself an email notification after each purchase - just choose the Notification integration and Email Notification as the action.
Create your own integrations with thousands of tools
And what if your tool isn't on the integration list? No problem! You can use your own automation, which you'll create with the help of Zapier or Make, generating a webhook. You can add a webhook in the general store settings in the API and Webhooks section. If you do this, it will be connected to all newly created products. To do this individually for each product, or to override the general Webhook, go to the Automations -> Webhook menu in a specific cart.
You can also learn about creating these types of automations from our YouTube and documentation!
By the way, if you want to use Make for this, we have a free month on the Pro plan for you, which you can unlock here.
The list of tools to which we already have native integrations is quite long and includes, among others:
- Airtable (where customers and purchases are automatically synchronized)
- CRMs like HubSpot and Pipedrive
- Communities like Circle and Discord
- Email tools like Mailer Lite, Get Response, Mailchimp and others
And many more!


