Generate website footer
Create a consistent, informative footer in minutes and embed it on your site with ease.
Easylegal allows you to generate a footer for your website. You can not only customize it to perfectly fit your visuals but also freely adjust its layout, add categories, and even include a newsletter sign up. All within our handy builder, in a few clicks.
Adjust footer layout and content
Let’s start with choosing the best layout for your footer and adding some content. To do so, simply:
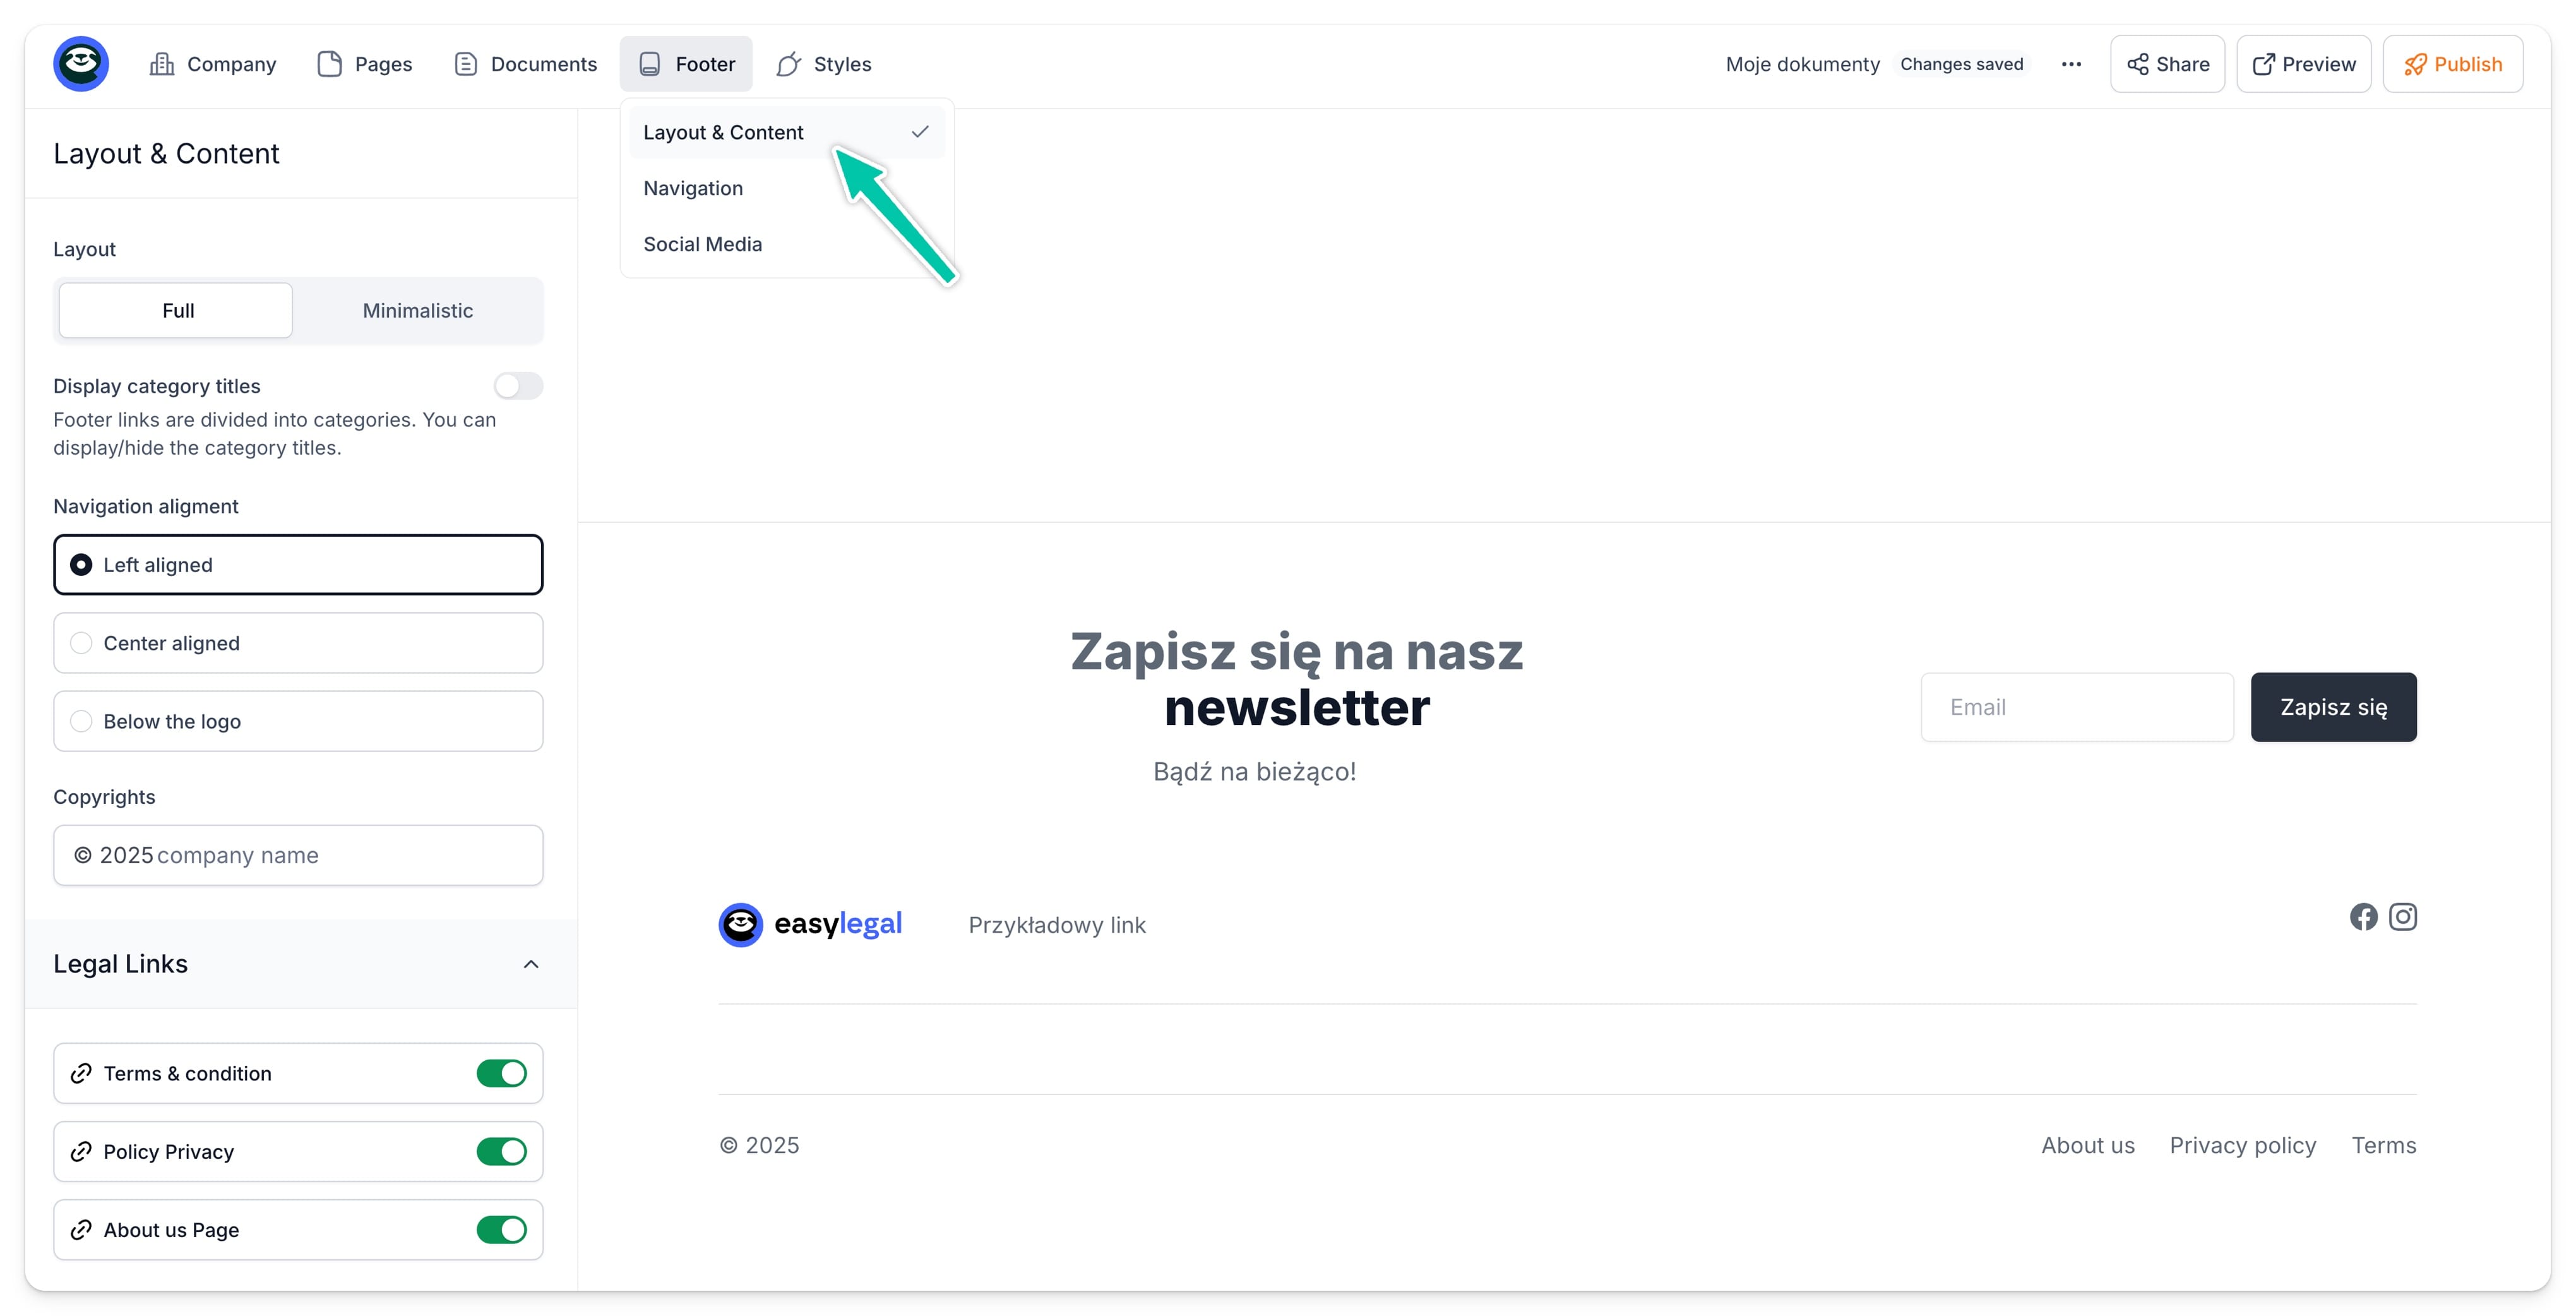
- Go to Footer tab in the top menu.
- Navigate to Layout & Content.
- Choose the Full or Minimalistic layout.
- Decide if you want to display categories by toggling Display category tiles on or off.
- Choose the Navigation alignment.
- Add Copyrights info.
- Choose which legal links you want to display.
- Choose if you want to add a newsletter form by toggling Show newsletter form on or off.
- Decide if you want to display Contact details (highly recommended).
- Click Save.
You can preview all the changes and different layout options in real-time, before you publish your project.
Add newsletter form
Once you decide to add a newsletter form to your footer, you will be able to provide some additional details, including:
- Webhook URL - we will send newsletter signups to this address.
- Title, Highlight title, Paragraph, and Button text - all to customize it to match our tone of voice.
You can also choose between 3 different form layouts: Above the logo, Below the logo, On the side.
The preview also allows you to see how your footer and newsletter form will look on different devices.
Navigation
This tab serves specifically to adding and categorizing links within your footer. You can freely adjust it based on how many categories and links you want to include.
To do so:
- Go to Footer ➔ Navigation.
- To add a category, click the Add category icon.
- To add a link, click the Add link icon or click ... next to the category to which you want to add the link.
- When your link structure is ready, click Save.
You can change the position and order of categories and links by simply dragging them.
Social links
Last but not least, time to add some social links to your footer. To do so:
- Go to Footer ➔ Social media.
- Toggle on all social channels that you want to add to your footer.
- Click ... next to each channel to provide links.
- Click Save.
Embed footer on your website
Once your footer is ready, let’s add it to your website. All you need to do is click Share and then choose Copy embed code icon next to Footer. After copying the code, you need to simply paste it into your website editor, and that’s it.
All future changes in your footer will appear in your embed automatically.


