WordPress
Sell on your site with WordPress integration. Add powerful e-commerce to your existing WordPress website.
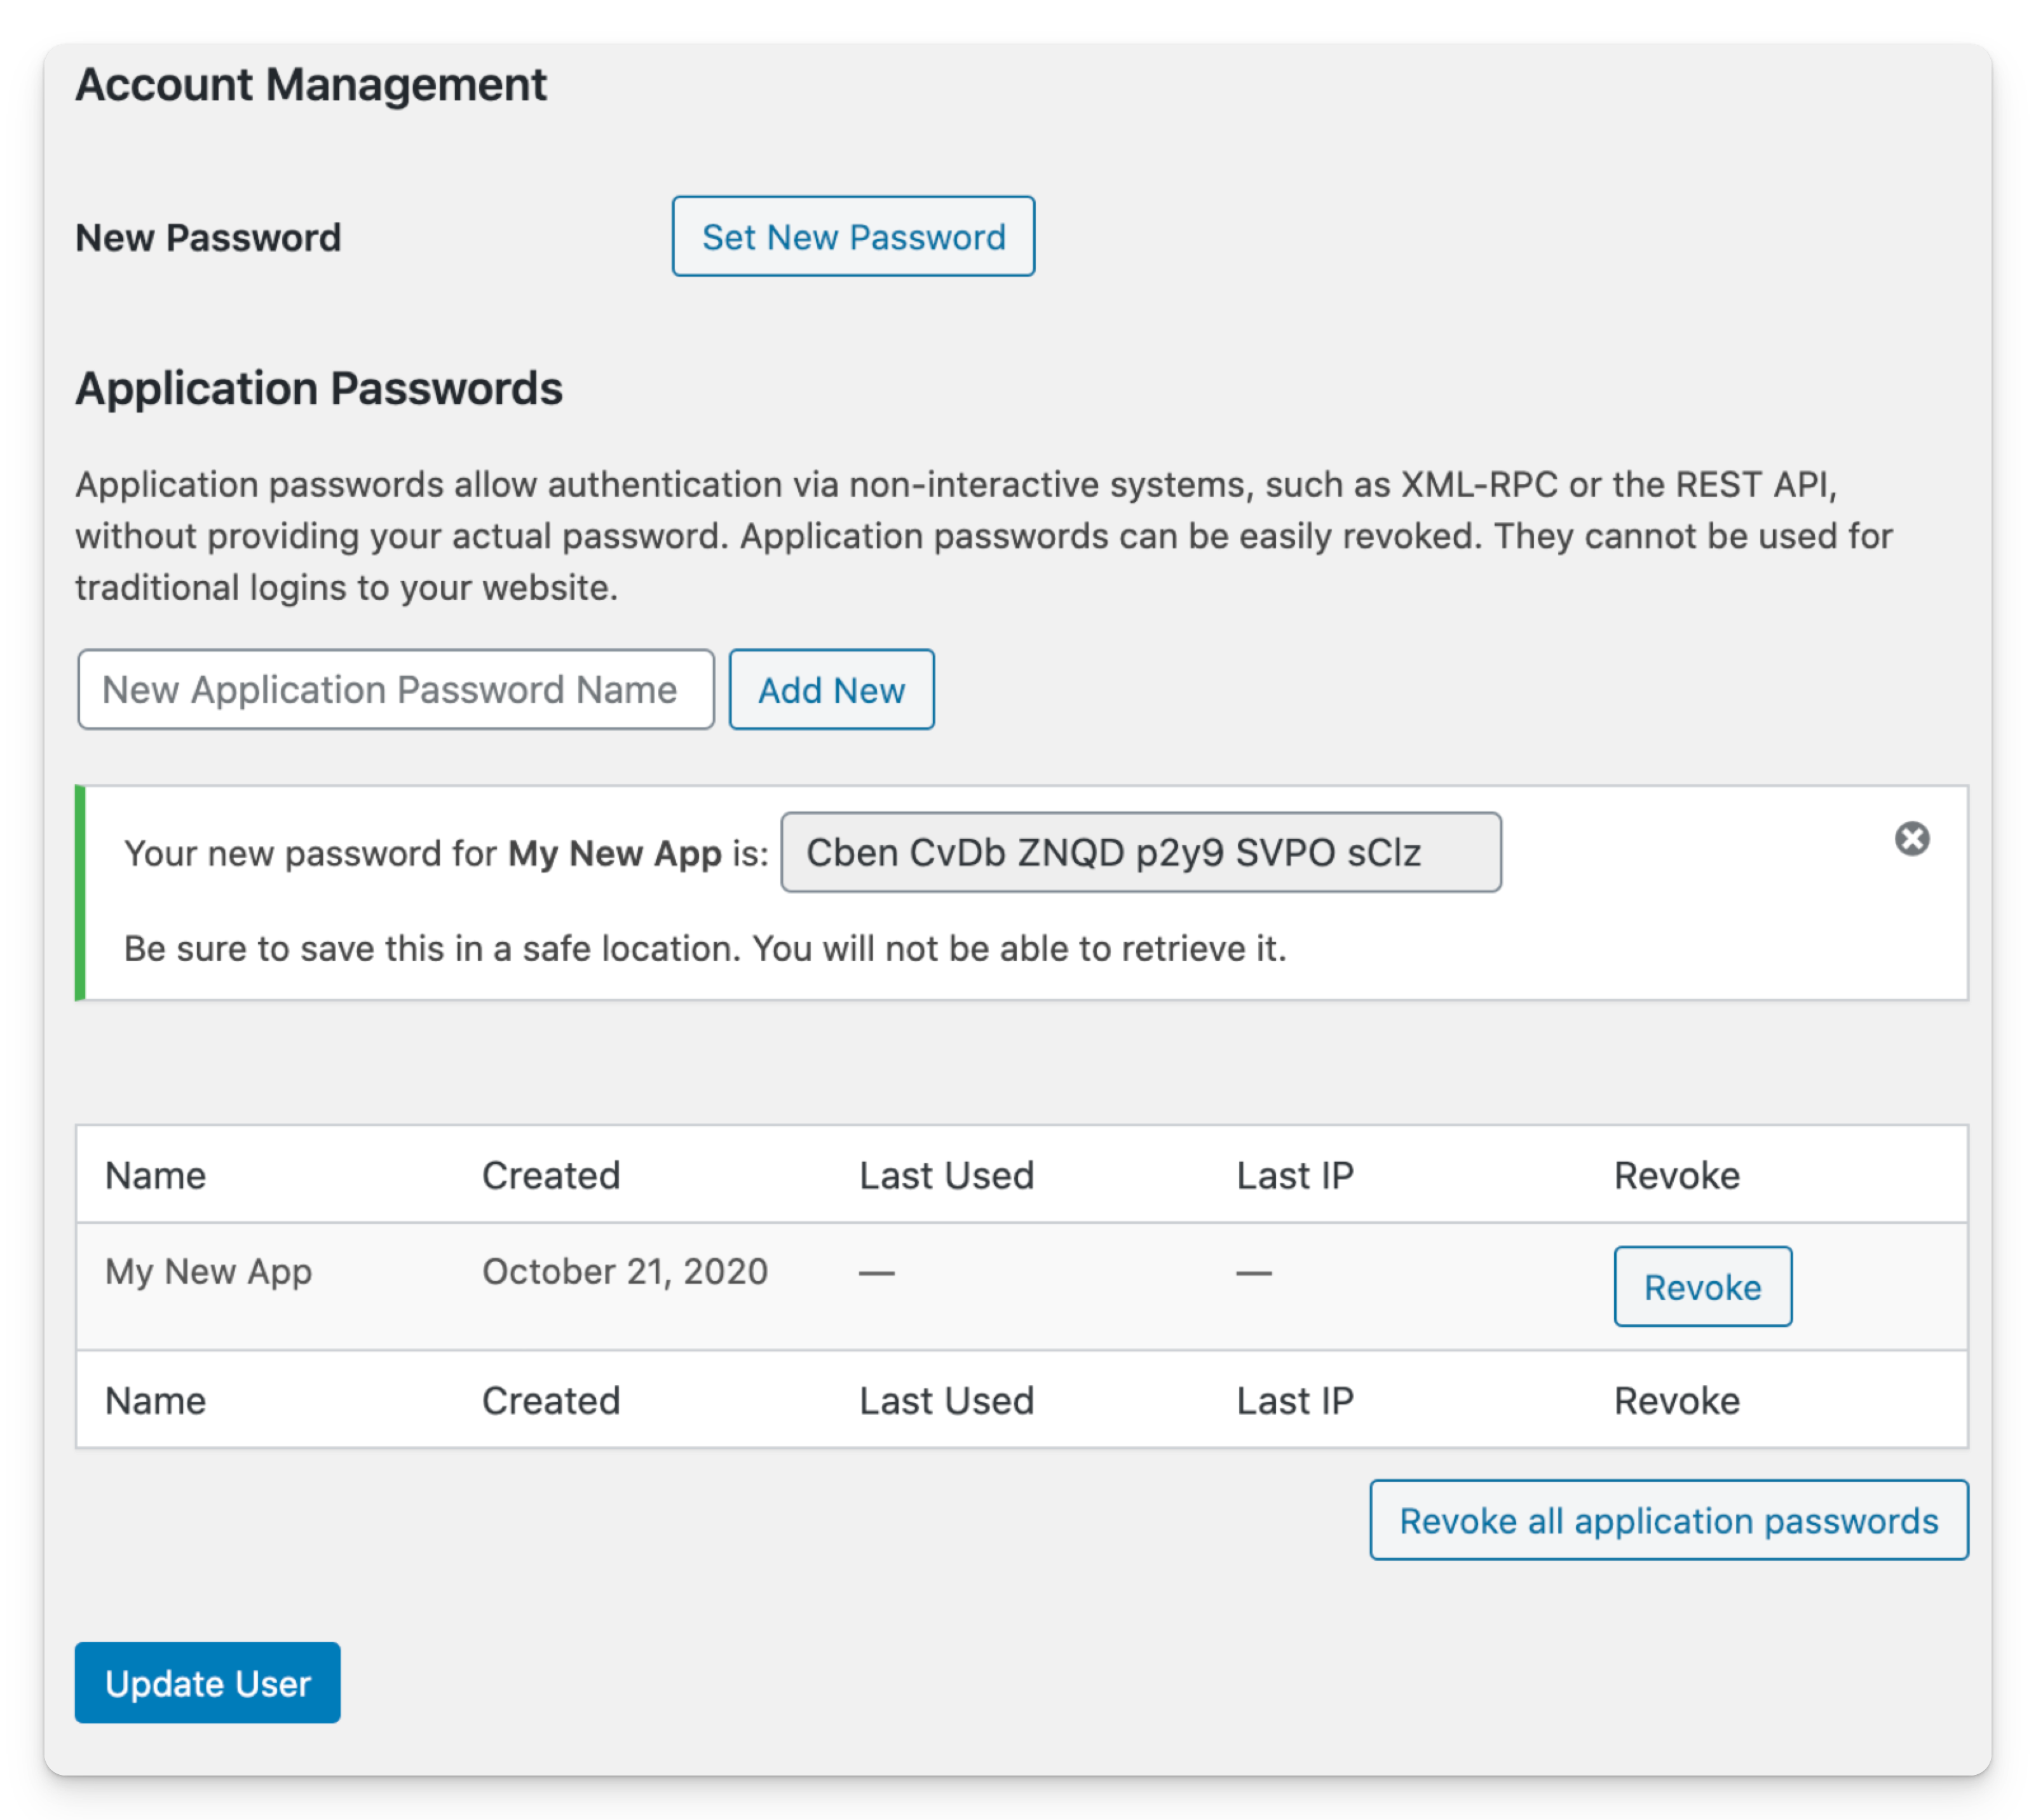
Before starting the integration, prepare your WordPress website URL along with application username and password. For enhanced security, we use the recommended connection method instead of traditional login credentials. Application passwords are easy to manage and can be quickly revoked, providing an extra security layer.
For more details on generating application passwords, check the official WordPress guide.

We recommend generating an application password in your profile settings, which allows authentication without using your actual password. Access can always be revoked in WordPress by deleting the application password.
Once you have your authentication credentials ready, go to Easycart's Automations → Applications tab, select +New application, and add WordPress.
Fill in the username, password, and address fields with your WordPress site URL.

Here's the English translation:
After selecting Check Connection, the integration will verify the connection. Once connection status is verified, you can close this tab.
How to add user creation automation:
- Go to Scenarios tab
- Add new scenario via +New scenario
- Fill scenario data - select Order Completed event if you want to create WordPress accounts automatically after purchase
- Select role to be assigned to new user
- Choose your WordPress integration
- Save scenario
After purchase, user account will be created automatically. User will receive email from WordPress to complete registration and set password.
Automation uses default WordPress roles, so custom roles won't appear in the list.
Additionally, WordPress has "Default role for new users" setting which will be used when role field is empty in automation form.
You can track execution in the Executions tab.


